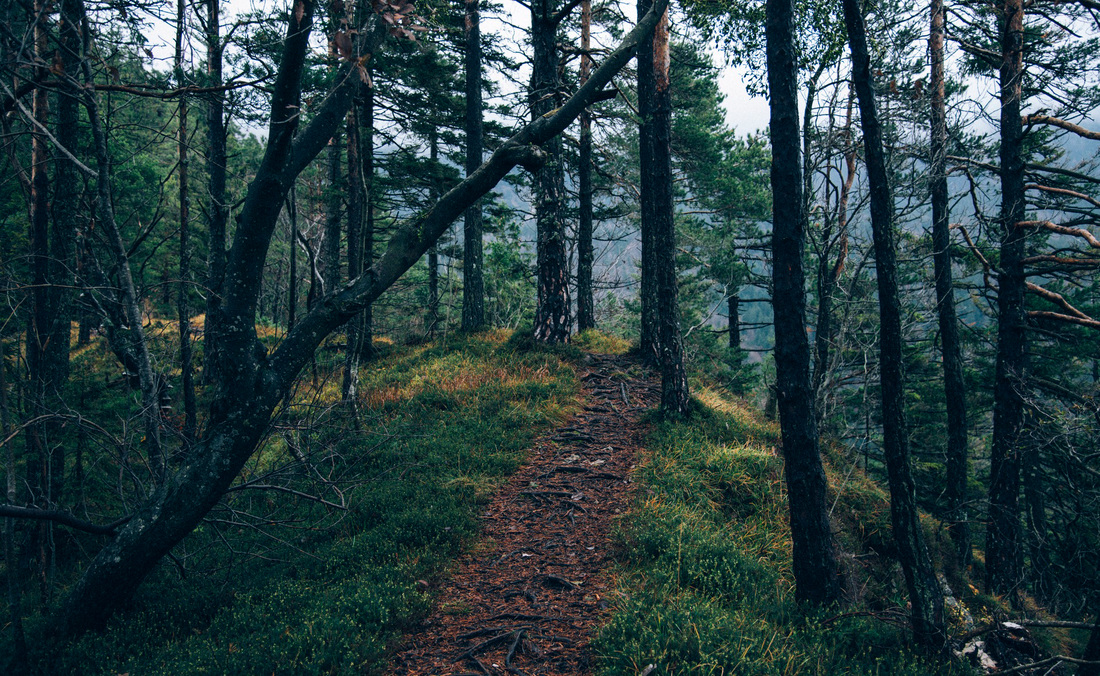
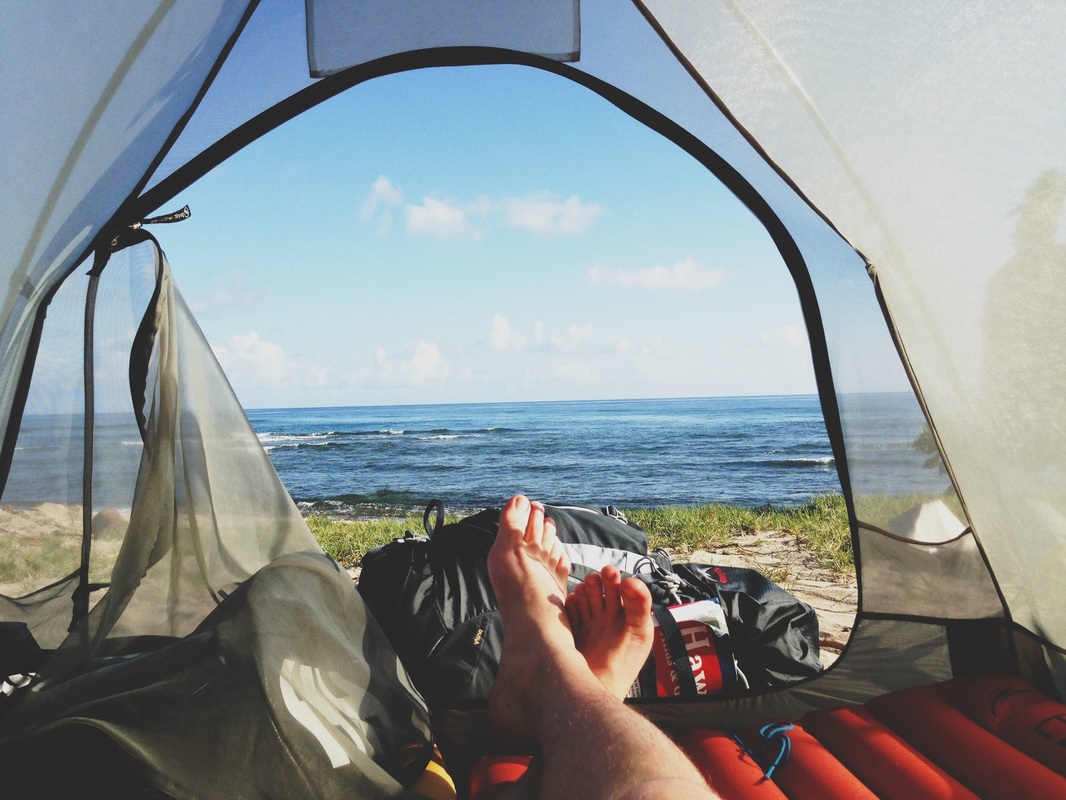
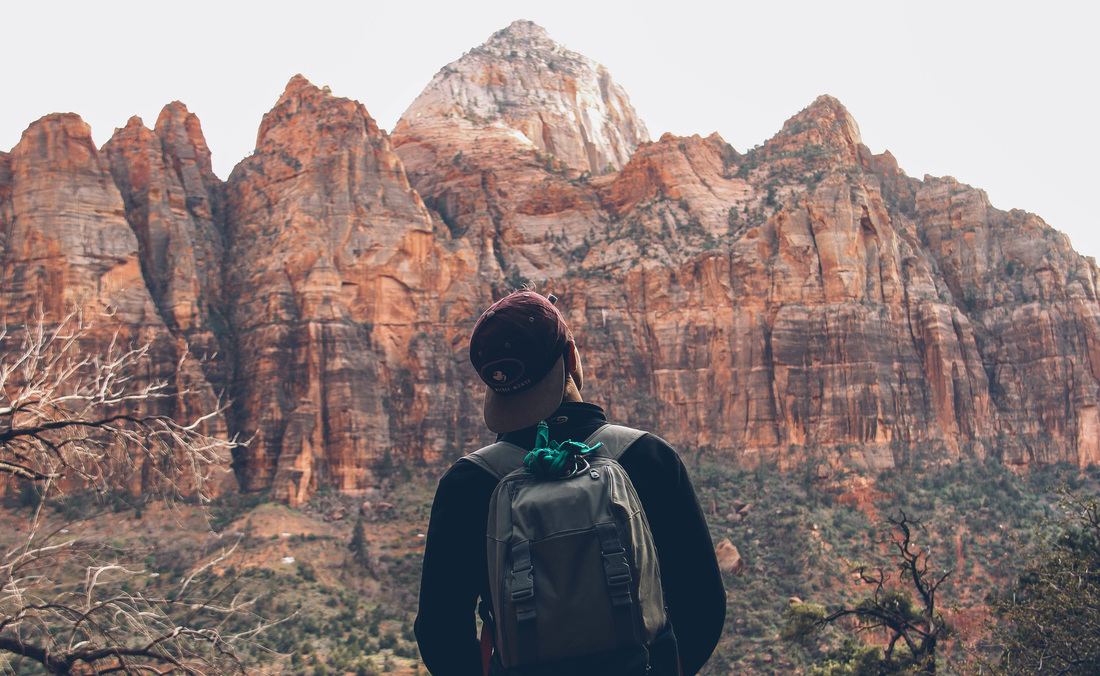
I'm James. This is my year of travel.
 
*Any heavy duty utility knife/x-acto knife you are comfortable using will due.Ĭarving/Stamping Tools (all Tandy) - ballpoint stylus, ergo swivel knife, smooth beveler (B201), textured beveler (B971), hair blade tool (item #88013-00), "dirt" stamp (E294), "dirt" stamp (E294-04)Īpplicators - sponge, wool daubers, t-shirt scraps, q-tips (oh, yes I said Q-tips)* *Available at most hobby/craft stores I use this to stabilize the leather.Ĭutting Tools - Industrial Knife (Tandy Item #3595-00) w/curved blade*, heavy duty leather scissors 
Leather - 5-6oz veg tanned "tooling" leatherīasic Supplies - mallet, granite/marble block, cutting mat, distilled water, rubber cement, quilter's plastic template sheet* Part I explains how I transferred the pattern to the leather, stabilized the leather, tooled the leather, applied oil/dye/stain/finishes, cut the pieces out and added professional touches.īelow is the list of supplies and materials used for Part I: And, in my humble opinion.tooling is the most fun part of the project! You can use the two pdf file pattern downloads that I have provided, let your own creative genius take over or even skip this part (Steps 1-13) if you are familiar with tooling. The leather appliques are the tooled stylized leaf designs that go on the front of the album and closure tab. And anyway, do you really want green hands? Please follow all instructions provided by the manufacturer when using these products. Disposable gloves are your friend! Some of the dyes, finishes, and stains aren't good to have in contact with your skin.(I certainly don't want anyone passing out!) Make sure that you apply this media in a well ventilated area or outside and take frequent fresh air breaks. Powerful, penetrating and "smelly" finishes, sprays and adhesives are used in this instructable project.(Or don't, it would be an excuse for new tools.) Maintain your tools, not only for safety but for a long life of use too.With the swivel knife, the standard safety rule of "cut away from your body" does not completely apply when using proper technique.Please mind where your fingers are at all times. This project requires the use of several sharp tools and cutting devices.Safety Precautions: A few things to remember before getting started. It is not a difficult project, but I did strive to be detailed. I truly hope that most can find it helpful or inspiring. They cut down on repetitive measuring nonsense and allow the option to reproduce the project in the future much more efficiently. Although I do not show how to make the templates, I do find templates very helpful. But wait, I didn't stop there! I also made templates based on those diagrams. These diagrams are pictured, referenced and made available via downloadable pdfs within this instructable. After I had my design illustration and research for measurements, I made five diagrams because I like to think that diagrams make just about anything easier. I based all of my measurements off this sizing. From here, I researched photo album/memory book standard sizes and refill page sizes, selecting the larger 12" x 12" format. Once I decided to make the postbound style, I was inspired by the new family to be I thought of family trees which led me to leaves and a design was born! So I sketched it up, and then illustrated it. I figured, why not try something new for myself and share my adventure with all of you. I have made a wedding album and baby book both in leather for gifts in the past, but they were "binder" style. They have lots of pictures around their home, so I thought maybe they would enjoy an album to collect all the new memories of their new family. I have this really awesome couple as a next door neighbor, and recently they told us that they are having a baby. It offers explicit instruction organized with pictures and/or diagrams covering tooling, dyeing, professional touches and the process of making and assembling the album. My goal was to tailor this instructable to be a complete project guide for those with little to no leather working experience. I love creating with leather and welcome the opportunity to share my passion. Its assembled size is approximately, 13 1/2" wide by 13" high by 2" deep it was made to fit standard 12" x 12" photo refill pages. This memory book (album) is hand tooled, hand stitched and hand constructed with beautiful leathers: tooled vegetable (veg) tanned along with garment and liner leathers.
0 Comments
Leave a Reply. |
AuthorWrite something about yourself. No need to be fancy, just an overview. ArchivesCategories |
 RSS Feed
